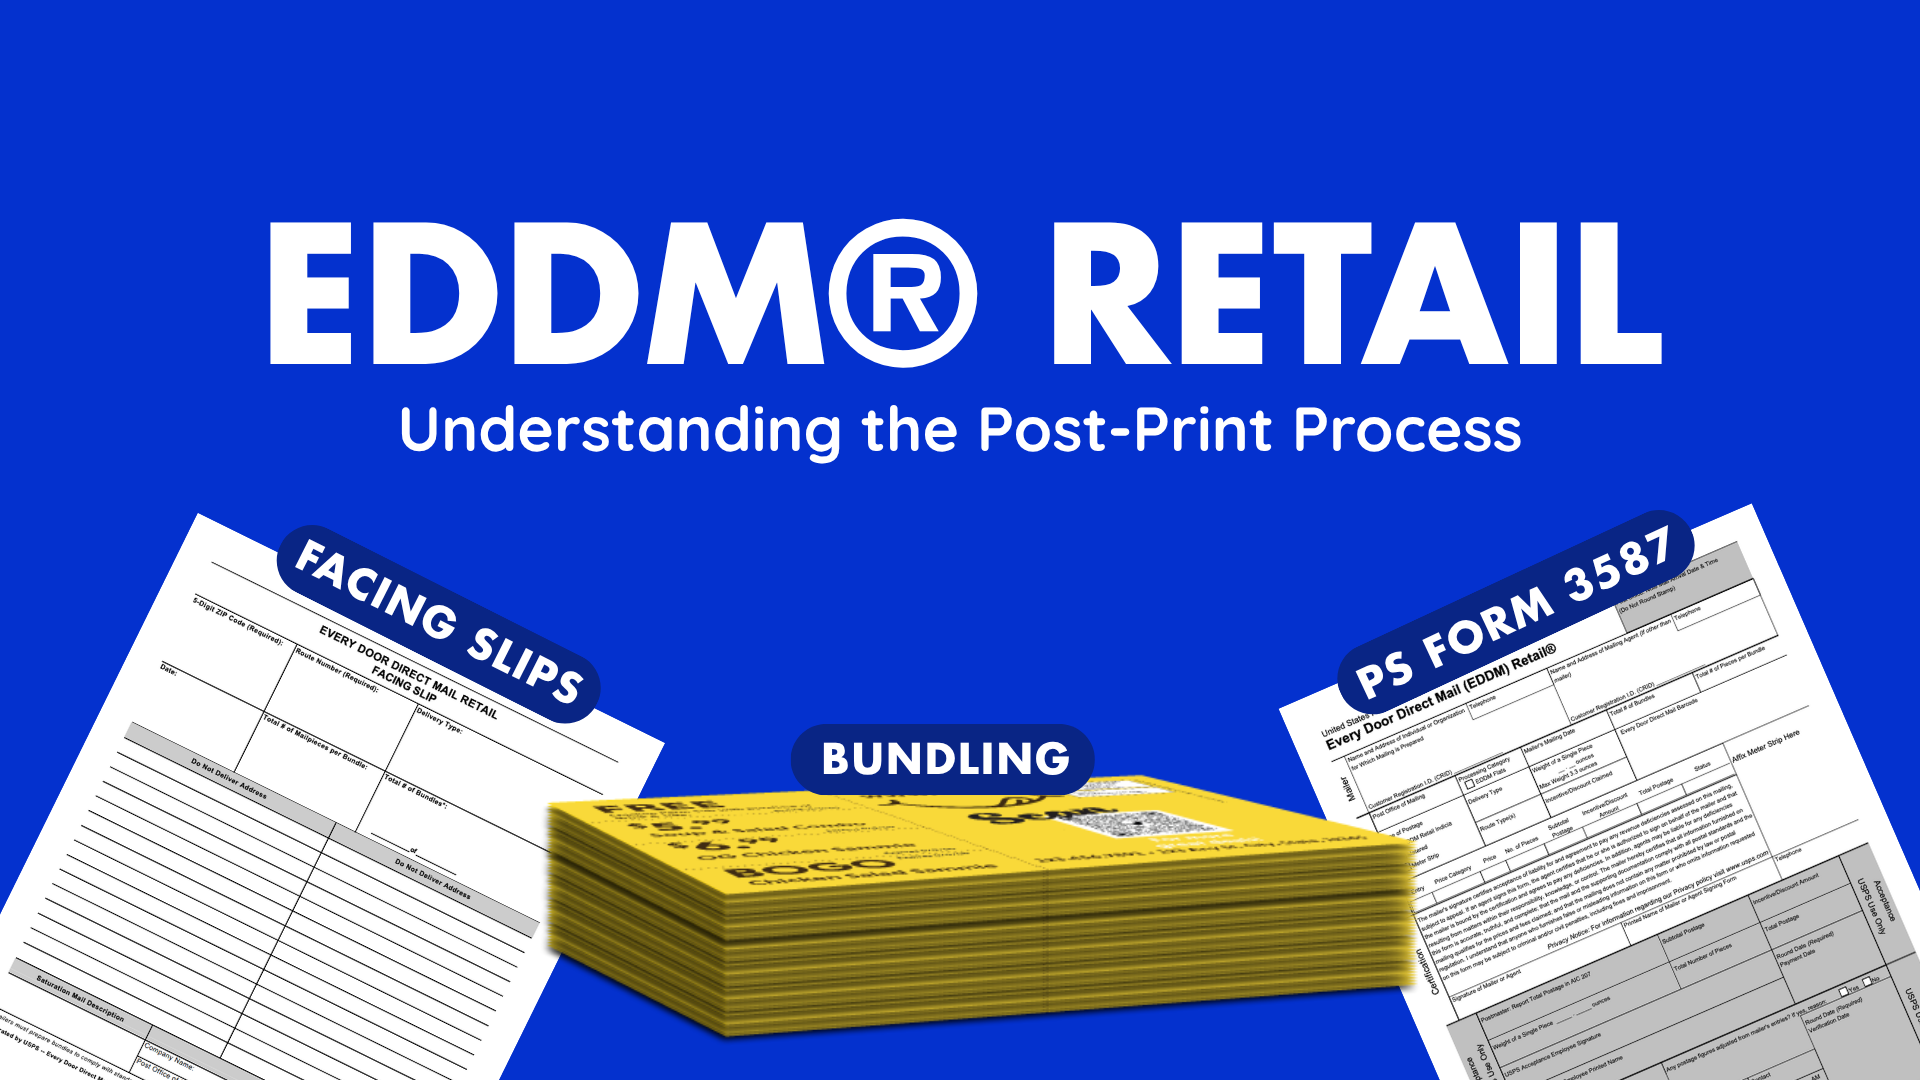
What to Do After You Print Your EDDM Retail Postcards? Understanding Bundling, Facing Slips, and More
Published by
Riley Bragg
on
So, you’ve printed your EDDM® (Every Door Direct Mail®) postcards—nicely done! 🎉 You’re already halfway to getting your message into the hands of every potential customer in your neighborhood. But what happens next can either make your mailing a breeze… or a bit of a puzzle.
Let’s walk through exactly what to do after your postcards are printed, with a clear, step-by-step guide that makes bundling, facing slips, and post office drop-offs feel like second nature.
First, What Is EDDM Retail—and Why Use It?
EDDM Retail is the small business owner’s best friend. It’s a U.S. Postal Service® program that lets you send postcards to every mailbox in a chosen ZIP code or neighborhood—without needing a mailing list or permit. That means:
✅ No need to buy addresses
✅ No printing stamps or labels
✅ No marketing degree required
EDDM Retail vs. EDDM All-Inclusive
EDDM Retail is the do-it-yourself option. You handle the bundling, paperwork, and Post Office drop-off. It’s a great fit if you enjoy being hands-on and want full control of the mailing process.
EDDM All-Inclusive is the done-for-you version. Taradel takes care of everything—from printing and bundling to paperwork and delivery to USPS. You just pick your audience and approve your design. It's marketing made easy, with zero trips to the Post Office.
How to Mail Your Postcards: A Step-by-Step Guide
Prefer to watch instead of read? Check out this short video that details the entire process:
1. Go to eddm.usps.com
Enter your ZIP code or address and use the USPS mapping tool to select your delivery routes. Choose the neighborhoods that make the most sense for your business.
2. Log In & Set Up Your Mailing
-
Sign in or create a USPS account
-
Select your mail drop-off date
-
Choose how you want to pay (online or at the Post Office)
3. Prepare Your Mail
Once you've checked out, click “Print All Forms” in Section 3 of your confirmation page. You’ll get:
-
📍 Drop-off Post Office location
-
📄 EDDM Retail Postage Statement
-
🗺️ Route summary (including how many pieces per route)
-
🧾 USPS-facing slips (one per 100 postcards per route)
Learn how to fill out a facing slip, step by step, with the video below:
Important: You must include one facing slip per bundle of 100 postcards. Taradel defaults to 100-piece bundles for a reason—it makes post office acceptance fast and easy.
Example:
If you're mailing 423 postcards to Route C009 in ZIP 23060, you'll need:
-
5 bundles (100 + 100 + 100 + 100 + 23)
-
5 copies of the USPS-facing slip for that route
-
1 slip placed on top of each bundle
Watch in depth tutorial on how to bundle your postcards below!
4. Drop It Off at the Post Office
Head to the designated Post Office from your paperwork. Bring:
-
Your neatly stacked, rubber-banded bundles
-
Your printed postage statement and paperwork
-
Your payment (or online payment receipt)
You Did It!
That’s it! Your campaign is officially in motion—and your postcards are now on their way to every local mailbox in your target area.
Want Someone to Handle It All for You? Try EDDM All-Inclusive
If bundling slips, post office drop-offs, and USPS paperwork aren’t your thing, we’ve got you covered.
EDDM All-Inclusive is Taradel’s done-for-you solution.
✅ We print your postcards
✅ We handle bundling, slips, and prep
✅ We work directly with the USPS
✅ You get all the reach without the heavy lifting
It’s perfect for busy business owners who want expert help launching high-performing campaigns—without the stress.
As one of our happy customers put it:
"The process was so simple and easy to use. We uploaded our card, picked our zip codes using their interactive map, and they handled the rest. It could not have been easier." — Tim Lewis, ★★★★★
Final Tips Before You Launch
-
✅ Double-check your bundle counts and facing slips
-
✅ Label clearly and keep things neat—post offices love that
-
✅ Track your results! Use call tracking, special offers, or QR codes to measure success
You’ve got this. And if you ever need help? Taradel’s expert team is always here to cheer you on and get your marketing across the finish line.
Tags:
EDDM Retail,
Every Door Direct Mail Retail,
eddm retail facing slips,
eddm bundling,
eddm retail guide,
how to use eddm retail